
If you have never had a Banana Nutella sandwich at 2am, then you have not lived. Here I'm sharing with you, something even better...Mini Banana Nutella Tarts! The best midnight...or 2am snack.
I originally found this recipe for Jam Tarts, but I'm not necessarily a Jam/Jelly kind of person so then I thought, "Hey, why not use bananas and Nutella instead"?! The creativity was flowing so I ran into the kitchen and got started.
Mini Banana Nutella Tarts
with caramelized bananas
makes about 24

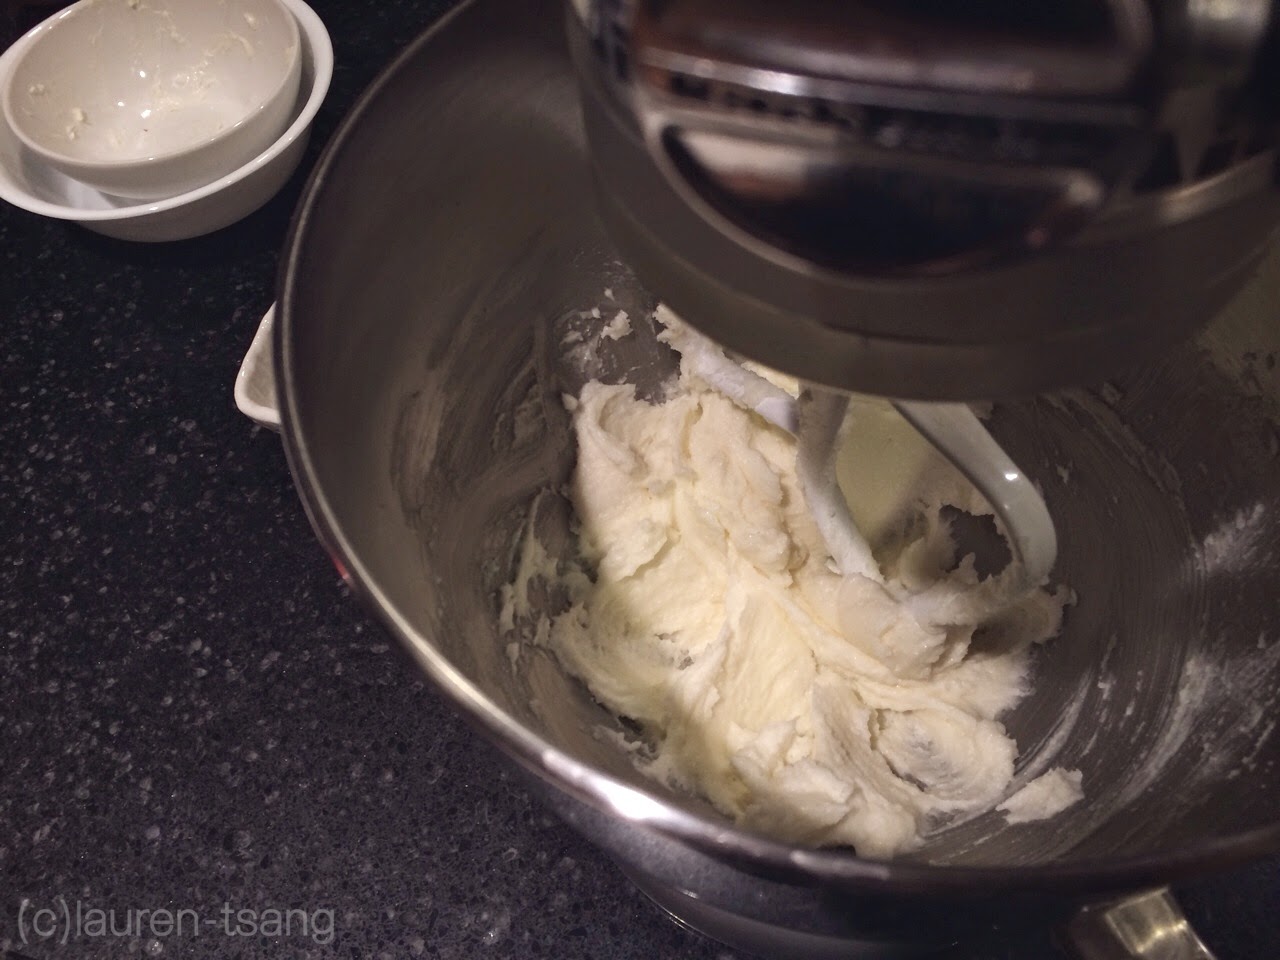
To begin the pastry crust, attach a paddle attachment to your stand mixer (a hand mixer will work fine), and cream together the butter and 1/2 cup of sugar on medium/high speed until light and fluffy (about 2 minutes). Be sure to scrape down the sides and bottom of your bowl as needed.

Add the egg and vanilla and beat until combined. Your mixture may look slightly curdled, but this is okay. Remember to scrape your bowl!

In a separate bowl, whisk together your flour, baking powder, and salt.

Add the flour to your mixture and beat, starting on low speed, until just incorporated. (You want to start on a low speed so flour doesn't explode in your face. You can increase the speed after a few seconds.) A ball of dough should form rather quickly so you don't want to over-mix it when it's not needed.

As you take the dough out of the mixing bowl, it should be in pieces, so on your clean counter (you can lightly dust your counter with flour if you'd like but it isn't necessary), briefly knead the pieces together and split it in half.

Wrap the two parts in plastic wrap and place them in the fridge to chill about 45 minutes to an hour. However, if you feel that your dough is firm enough, you can proceed to roll it out. You can tell if your dough isn't firm enough if it cracks while you're rolling it out.

Place your first ball of dough in between two large pieces of parchment or wax paper and roll out until about 1/8in thick. To prevent the paper from sliding on the counter, I put a silicon mat underneath (as seen in the picture earlier), but a slightly damp towel will work just fine. Be sure to check both sides of the dough to ensure that there are no wrinkles or cracks. Repeat with the second ball of dough. At this time, chilling your dough for about 45min to an hour is NECESSARY. You'll be handling it a lot from now on so you'll definitely want to reduce the chances of cracking.

While the dough is chilling, this is a great time to work on the caramelized bananas! Cut your bananas into slices about 1/8in thick and place them in a shallow dish. Add your lemon juice, just enough to lightly coat the bananas. You won't be able to taste the lemon later on, this is just to prevent the bananas from browning.


Mini Banana Nutella Tarts
with caramelized bananas
makes about 24
Pastry Crust:
- 10 tbsp unsalted butter (room temp.)
- 1/2 cup granulated sugar
- 1 large egg (room temp.)
- 1 tsp vanilla extract
- 2 cups all purpose flour
- 1/2 tsp baking powder
- 1/4 tsp salt
- about 1/2 cup Nutella
Caramelized Bananas
- 2-3 ripe, but firm bananas
- 1 1/2 tbsp butter
- 3-5 tbsp granulated sugar
- Fresh lemon juice
To begin the pastry crust, attach a paddle attachment to your stand mixer (a hand mixer will work fine), and cream together the butter and 1/2 cup of sugar on medium/high speed until light and fluffy (about 2 minutes). Be sure to scrape down the sides and bottom of your bowl as needed.
Add the egg and vanilla and beat until combined. Your mixture may look slightly curdled, but this is okay. Remember to scrape your bowl!
In a separate bowl, whisk together your flour, baking powder, and salt.
Add the flour to your mixture and beat, starting on low speed, until just incorporated. (You want to start on a low speed so flour doesn't explode in your face. You can increase the speed after a few seconds.) A ball of dough should form rather quickly so you don't want to over-mix it when it's not needed.
As you take the dough out of the mixing bowl, it should be in pieces, so on your clean counter (you can lightly dust your counter with flour if you'd like but it isn't necessary), briefly knead the pieces together and split it in half.
Wrap the two parts in plastic wrap and place them in the fridge to chill about 45 minutes to an hour. However, if you feel that your dough is firm enough, you can proceed to roll it out. You can tell if your dough isn't firm enough if it cracks while you're rolling it out.
Place your first ball of dough in between two large pieces of parchment or wax paper and roll out until about 1/8in thick. To prevent the paper from sliding on the counter, I put a silicon mat underneath (as seen in the picture earlier), but a slightly damp towel will work just fine. Be sure to check both sides of the dough to ensure that there are no wrinkles or cracks. Repeat with the second ball of dough. At this time, chilling your dough for about 45min to an hour is NECESSARY. You'll be handling it a lot from now on so you'll definitely want to reduce the chances of cracking.
While the dough is chilling, this is a great time to work on the caramelized bananas! Cut your bananas into slices about 1/8in thick and place them in a shallow dish. Add your lemon juice, just enough to lightly coat the bananas. You won't be able to taste the lemon later on, this is just to prevent the bananas from browning.
In a large saucepan on high heat, melt your 1tbsp of butter until it bubbles. Add your bananas and toss until they're all coated in butter. Still on high heat, sprinkle your sugar over the top of the bananas and continue tossing until they caramelize.
Most of the butter should reduce down into a thick paste. (At this point my house smelled AMAZING.) Strain out excess butter and set the caramelized bananas aside to reach room temperature.
Now is a good time to preheat your oven to 400 degrees Fahrenheit.
When your dough has finished chilling, pull the first sheet out and begin cutting out your circles (or in my case, scalloped circles). Since these are miniature tarts, a 2 1/2 inch cookie cutter will suffice.
Begin placing your dough into a miniature muffin pan (can be purchased at most craft/baking stores).
Be gentle, because the dough can easily crack. If this happens, you can simply patch it up with a little bit of extra dough. If your dough gets too soft to handle, put it back in the fridge for another 20 minutes or so.
I had to do this repeatedly since my kitchen was so hot...
Place your bananas at the bottom of each tart. One slice of banana per tart should be perfect.
Fill a Ziploc bag with the Nutella and snip off a small piece of the corner. This makes filling the tarts a lot quicker and neater. Tap the muffin pan on a flat surface a few times to flatten out the Nutella as well as releasing any air bubbles.
Bake for 12-14 minutes or until the edges of the pastry are a nice golden brown. You will notice some of the caramelized banana bubble around the Nutella, but that's okay. Let them sit in the pan to cool for about 10 minutes. Afterward, use a small knife or spatula to take your mini tarts out and place them on a wire rack to finish cooling.
Top them off with a little more of that caramelized banana and you're good to go! And just FYI, these taste THE BEST when they're warm out of the oven.
The Nutella set up really nicely after being baked and the caramelized bananas tasted amazing. The Nutella and banana flavors balanced well and the pastry crust pulled it all together.
I'm quite proud of myself this time around and just saying, my coworkers loved these heheh. Let me know if you try this out and thanks for reading!
