Showing posts with label banana. Show all posts

Tuesday, July 22, 2014

Recipe: The Best Banana Bread Ever

It's been a long time coming, but I'm back again with a not-so-new recipe. Everyone has had banana bread at least once in their life, and I've come across countless recipes, but there could only be one winner.

Banana Bread

makes 2 loaves


You will need:
  • 2 cups granulated sugar
  • 2 1/2 cups all-purpose flour
  • 1 cup (2 sticks) butter (room temp.)
  • 4 eggs (room temp & beaten)
  • 6-7 (very ripe) bananas
  • 1 tsp salt
  • 2 tsp baking soda
*TIP: The riper the bananas, the better!


Preheat your oven to 350 degrees Fahrenheit. Prepare 2 2x4x8 loaf pans by coating them with butter/oil and dusting them with flour.


In a large bowl, mash your bananas. Breaking them up into small pieces makes the process a little faster and easier. I like using a fork, but if I'm in a hurry, I break out the potato masher...go big or go home!


The end result is basically a huge vat of banana guts. It is going to be a little chunky, but try to avoid super large chunks. You don't want wet spots in your banana bread. 


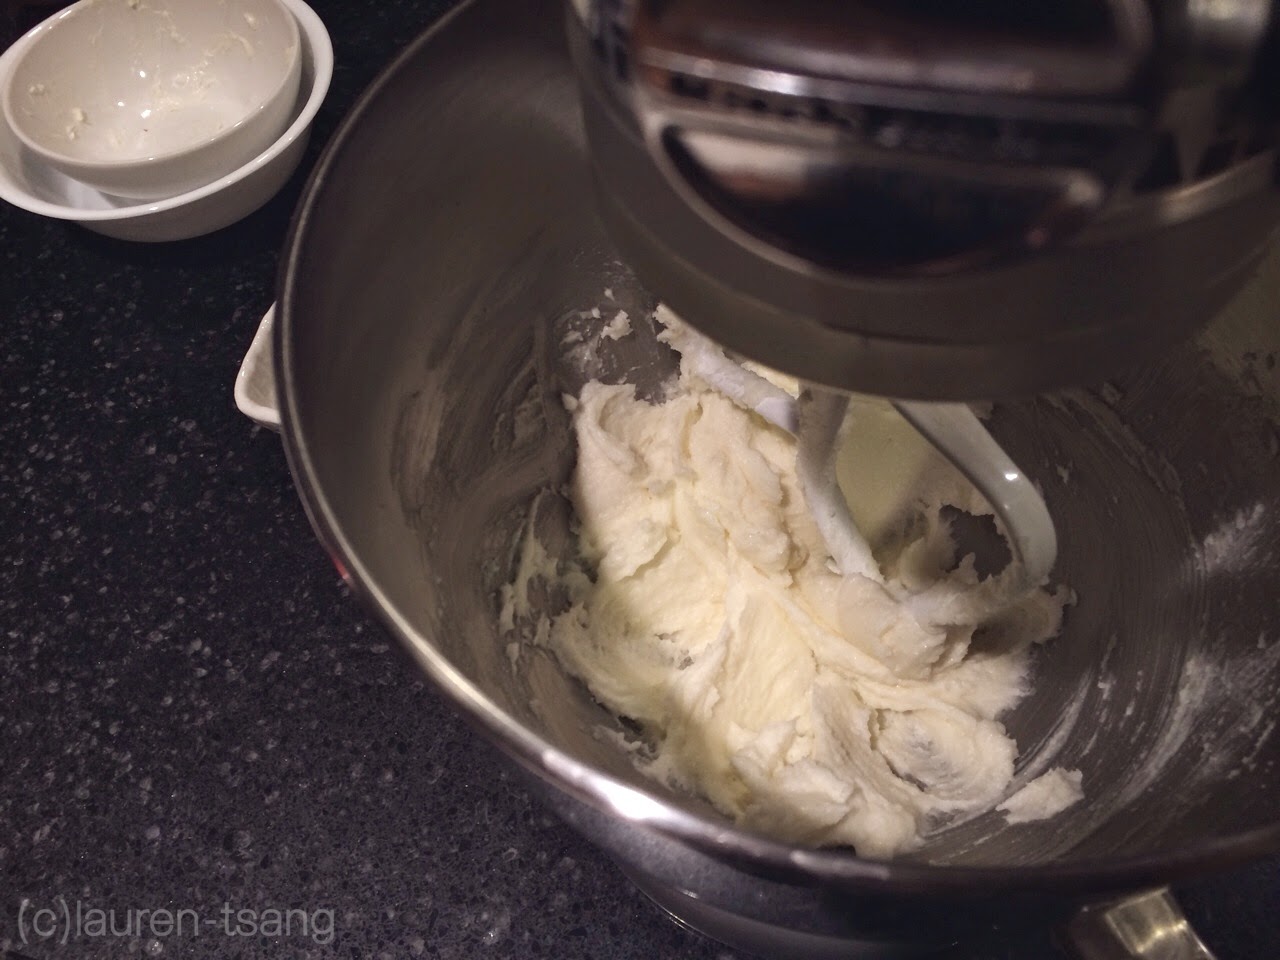
In a stand mixer with a paddle attachment or a hand electric mixer, cream your butter and sugar together until light and fluffy.


Add your bananas and beaten eggs and mix well. At this point your batter will look a little curdled (but it's not, don't worry it's just the bananas). In another separate bowl, sift together your flour, baking soda, and salt and mix into your batter, but just until incorporated. You do not want to over mix!!!


Divide the batter evenly between the two prepared pans. Tap each pan on a flat surface a few times to get rid of any air bubbles. Bake for 45-50 minutes. Test the banana bread with a tooth pick or skewer. Don't worry if it is still a little wet near the surface, that can happen since there are so many bananas in this recipe.


When finished baking, place pans on a wire rack for about 10-20 minutes or until they are cool enough to touch.


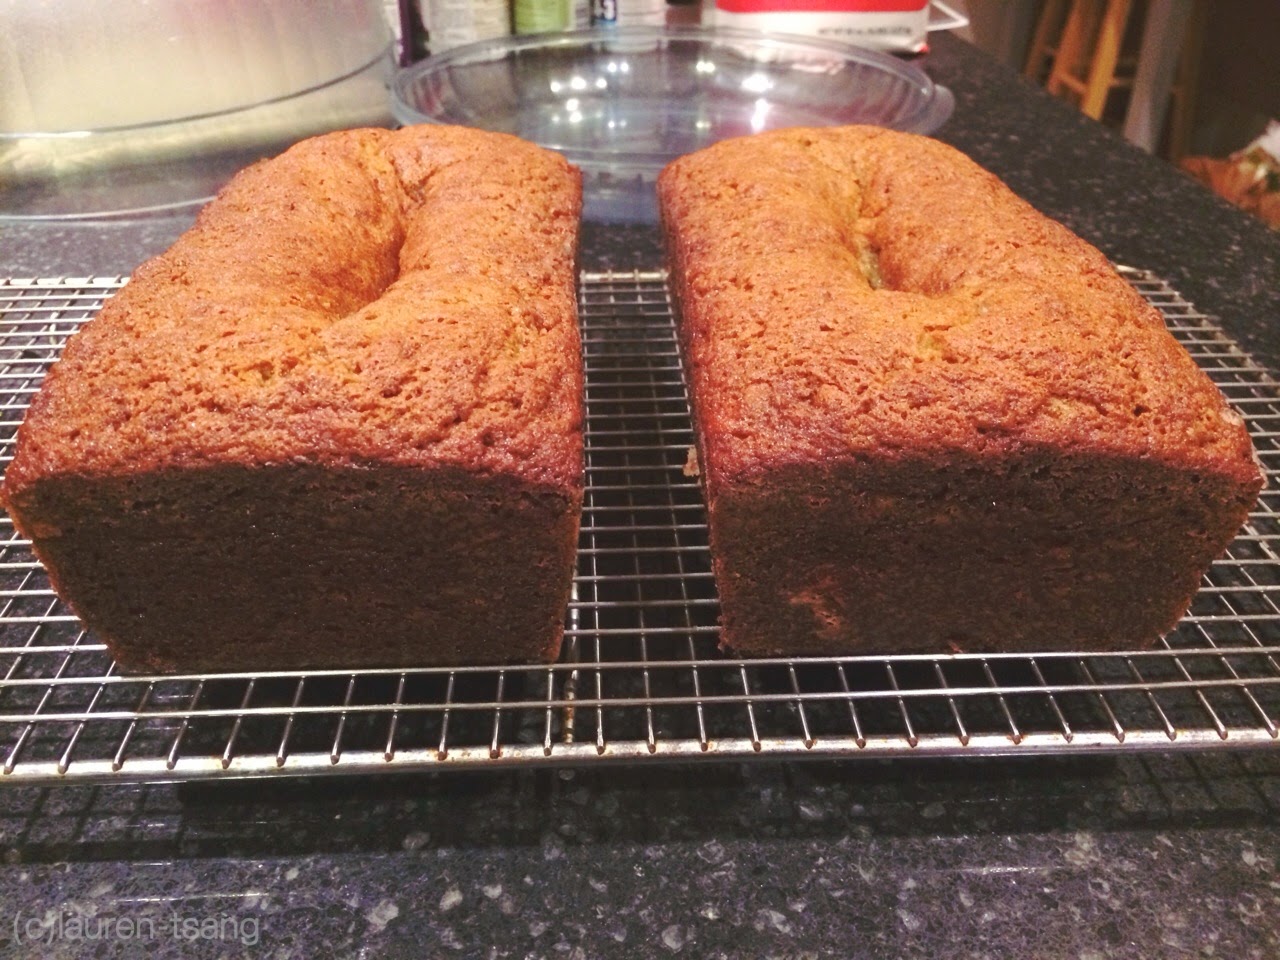
Once cool enough, use a butter knife or spatula to help flip the loaves out of the pans to finish cooling completely on the wire rack. (This batch's center, as you can see, remained a little wet, which is why this little crater formed while cooling.)


My dad has had this recipe for years, ever since we still lived in San Francisco ten years ago, and we have still yet to find another that has even come close to competing with ours. If you don't believe me, you're just going to have to try it for yourself!

Saturday, May 17, 2014

Recipe: Mini Banana Nutella Tarts

If you have never had a Banana Nutella sandwich at 2am, then you have not lived. Here I'm sharing with you, something even better...Mini Banana Nutella Tarts! The best midnight...or 2am snack.

I originally found this recipe for Jam Tarts, but I'm not necessarily a Jam/Jelly kind of person so then I thought, "Hey, why not use bananas and Nutella instead"?! The creativity was flowing so I ran into the kitchen and got started.

Mini Banana Nutella Tarts
with caramelized bananas

makes about 24


Pastry Crust:
  • 10 tbsp unsalted butter (room temp.)
  • 1/2 cup granulated sugar
  • 1 large egg (room temp.)
  • 1 tsp vanilla extract
  • 2 cups all purpose flour
  • 1/2 tsp baking powder
  • 1/4 tsp salt
  • about 1/2 cup Nutella
Caramelized Bananas
  • 2-3 ripe, but firm bananas
  • 1 1/2 tbsp butter
  • 3-5 tbsp granulated sugar
  • Fresh lemon juice


To begin the pastry crust, attach a paddle attachment to your stand mixer (a hand mixer will work fine), and cream together the butter and 1/2 cup of sugar on medium/high speed until light and fluffy (about 2 minutes). Be sure to scrape down the sides and bottom of your bowl as needed.


Add the egg and vanilla and beat until combined. Your mixture may look slightly curdled, but this is okay. Remember to scrape your bowl!


In a separate bowl, whisk together your flour, baking powder, and salt.


Add the flour to your mixture and beat, starting on low speed, until just incorporated. (You want to start on a low speed so flour doesn't explode in your face. You can increase the speed after a few seconds.) A ball of dough should form rather quickly so you don't want to over-mix it when it's not needed. 


As you take the dough out of the mixing bowl, it should be in pieces, so on your clean counter (you can lightly dust your counter with flour if you'd like but it isn't necessary), briefly knead the pieces together and split it in half.


Wrap the two parts in plastic wrap and place them in the fridge to chill about 45 minutes to an hour. However, if you feel that your dough is firm enough, you can proceed to roll it out. You can tell if your dough isn't firm enough if it cracks while you're rolling it out. 


Place your first ball of dough in between two large pieces of parchment or wax paper and roll out until about 1/8in thick. To prevent the paper from sliding on the counter, I put a silicon mat underneath (as seen in the picture earlier), but a slightly damp towel will work just fine. Be sure to check both sides of the dough to ensure that there are no wrinkles or cracks. Repeat with the second ball of dough. At this time, chilling your dough for about 45min to an hour is NECESSARY. You'll be handling it a lot from now on so you'll definitely want to reduce the chances of cracking. 


While the dough is chilling, this is a great time to work on the caramelized bananas! Cut your bananas into slices about 1/8in thick and place them in a shallow dish. Add your lemon juice, just enough to lightly coat the bananas. You won't be able to taste the lemon later on, this is just to prevent the bananas from browning.


In a large saucepan on high heat, melt your 1tbsp of butter until it bubbles. Add your bananas and toss until they're all coated in butter. Still on high heat, sprinkle your sugar over the top of the bananas and continue tossing until they caramelize.


Most of the butter should reduce down into a thick paste. (At this point my house smelled AMAZING.) Strain out excess butter and set the caramelized bananas aside to reach room temperature

Now is a good time to preheat your oven to 400 degrees Fahrenheit.


When your dough has finished chilling, pull the first sheet out and begin cutting out your circles (or in my case, scalloped circles). Since these are miniature tarts, a 2 1/2 inch cookie cutter will suffice.


Begin placing your dough into a miniature muffin pan (can be purchased at most craft/baking stores). 


Be gentle, because the dough can easily crack. If this happens, you can simply patch it up with a little bit of extra dough. If your dough gets too soft to handle, put it back in the fridge for another 20 minutes or so
I had to do this repeatedly since my kitchen was so hot...


Place your bananas at the bottom of each tart. One slice of banana per tart should be perfect.


Fill a Ziploc bag with the Nutella and snip off a small piece of the corner. This makes filling the tarts a lot quicker and neater. Tap the muffin pan on a flat surface a few times to flatten out the Nutella as well as releasing any air bubbles


Bake for 12-14 minutes or until the edges of the pastry are a nice golden brown. You will notice some of the caramelized banana bubble around the Nutella, but that's okay. Let them sit in the pan to cool for about 10 minutes. Afterward, use a small knife or spatula to take your mini tarts out and place them on a wire rack to finish cooling.


Top them off with a little more of that caramelized banana and you're good to go! And just FYI, these taste THE BEST when they're warm out of the oven.


The Nutella set up really nicely after being baked and the caramelized bananas tasted amazing. The Nutella and banana flavors balanced well and the pastry crust pulled it all together.

I'm quite proud of myself this time around and just saying, my coworkers loved these heheh. Let me know if you try this out and thanks for reading!

Sunday, February 23, 2014

Sweets Raku


This weekend I finally got to go to Sweets Raku, a Japanese dessert restaurant in Las Vegas China Town, and I've got to say, it was well worth the wait.


Most people are seated at the counter and are able to watch their dessert being made right in front of them, and I've got to say that it's pretty entertaining to watch, especially with such a nice, modern-looking kitchen setting (The dish in the picture turned out to be ours). The actual location is a bit small but makes sense since it's a side location of the main restaurant Raku located about 100 feet away in the strip mall, but either way, this place still constitutes in my book as "fancy shmancy". 


When you are seated, you are given two menus - a drink menu, and their ever so popular edible menu which is made of rice paper and served with a sauce of your choice. We chose raspberry sauce and it was delicious! 
While Sweets Raku has quite an assortment of high-end selections, what they're known for is their 3-course dessert option, Prix Fixe


The first course, Amuse, is a seasonal sorbet served with white wine jelly. Right now they're serving peach sorbet, and it was perfect. It tasted so refreshing and not overbearingly sweet. And as for the white wine jelly, you could still detect a subtle taste of white wine which complimented the peach sorbet very well.


The second course is the course that you choose from the five choices available that day. Like Amuse, some choices are seasonal. We decided to choose the Marriage, a delicious sponge cake wrapped around banana custard with fresh bananas, and strawberry mousse. The dish also featured some fresh strawberries, raspberries and blueberries, and also white chocolate and gold garnish, which I thought was a nice touch. It's so hard to pick a favorite part of this dessert. The sponge cake itself had so much flavor, but again didn't overpower the rest of the dish's main components. The strawberry mousse was presented beautifully (like everything else served in this place) and was very light and airy. The banana custard was exceptionally creamy and the fresh slices of banana made it even better.


The final course, Petit Four, which is also seasonal, is a cream puff filled with either regular or chocolate cream and a fruit sauce of your choice, served with passion fruit and strawberry marshmallows, and garnished with caramel and orange zest. My first thought was "what could be so special about a cream puff?" but with the first bite, this cream puff told me other wise. The pastry itself is very crisp on the outside and perfectly soft and flaky on the inside, and honestly, I was hesitant on ordering the chocolate cream thinking it would be really overpowering, but it proved to be just as light and delicious as everything else and went well with the strawberry sauce inside. The marshmallows, although small, were packed with so much fruity flavor, which tasted true to their fresh fruit counterparts.

All in all, my experience at Sweets Raku was an enjoyable one. I'm a sucker for food with beautiful presentation and they definitely delivered. Now, with a price of $19 per person who orders the Prix Fixe ($24 for 2 people sharing) and not-so-large servings, I wouldn't say this is an everyday place to enjoy desserts, but if you're in the mood to treat yourself or someone special to something new and refreshing, I say go for it, because you won't regret it. I'm hoping to find other occasions to treat myself just to try all the different options they have!

Even the presentation of their glasses and coasters were nice!